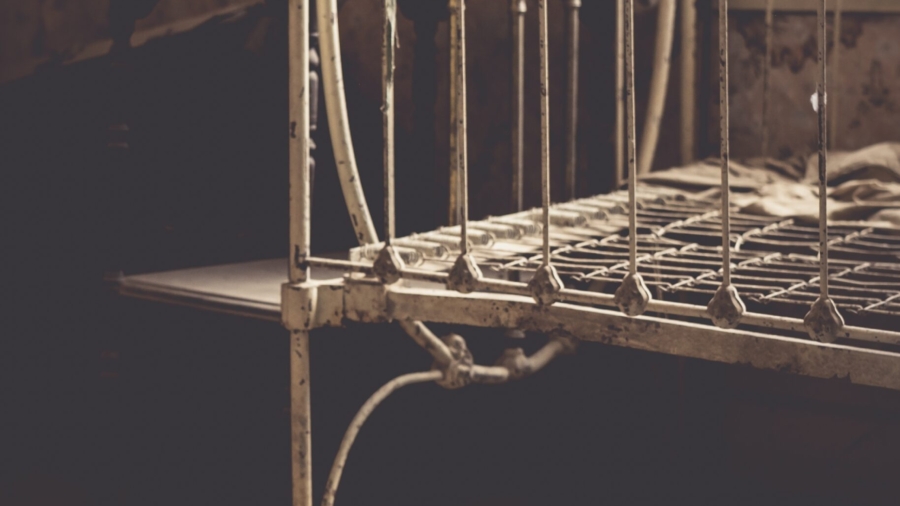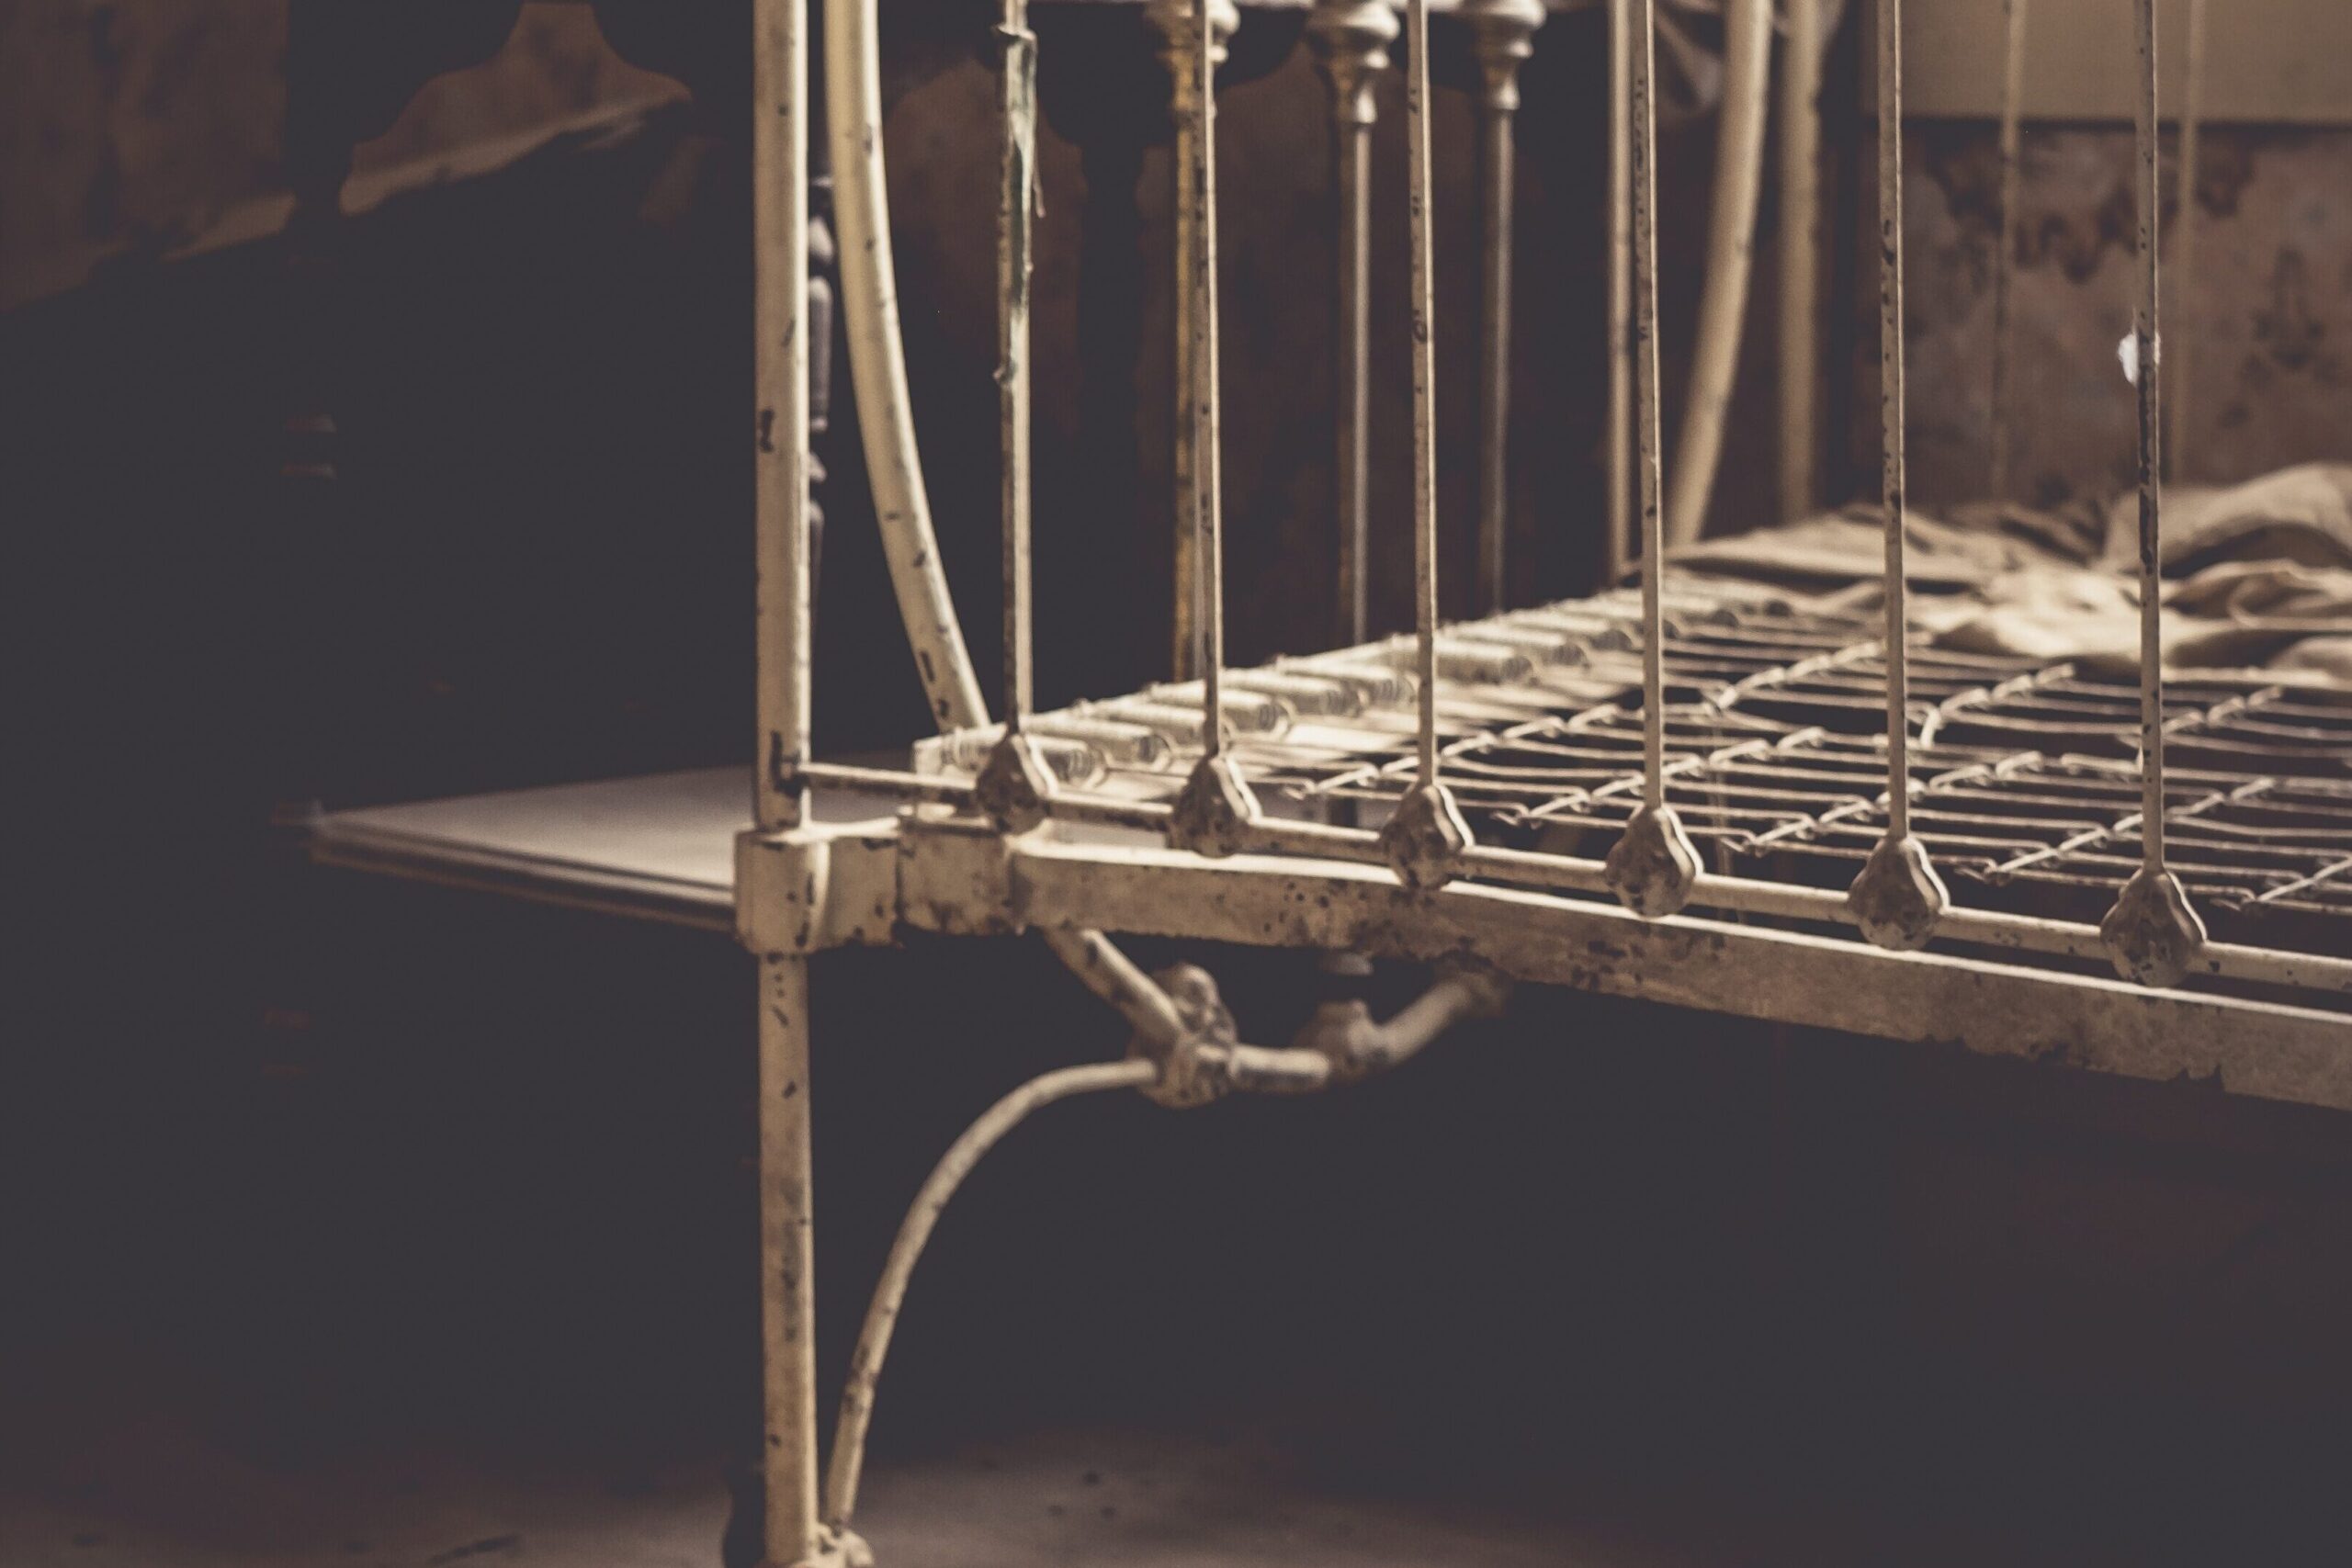
Loose furniture joints are a very common issue in Indian homes. Whether it’s a wooden chair that wobbles, a table that shakes, or a bed frame that feels unstable, loose joints not only reduce comfort but can also lead to serious damage if ignored.
The good news is that most loose furniture joints can be fixed at home using simple tools and practical techniques. You don’t need to be a professional carpenter—just follow the right method.
This detailed guide explains why furniture joints become loose and how to fix them properly step by step, using real-world solutions that work.
Why Furniture Joints Become Loose
Understanding the cause helps you fix the problem correctly.
1. Daily Usage and Weight Pressure
Regular sitting, movement, and weight put stress on joints, slowly loosening them.
2. Weak Adhesive or Glue
Over time, the glue used in wooden joints dries out and loses strength.
3. Moisture and Humidity
Indian weather, especially during monsoon, affects wood and weakens joints.
4. Poor Quality Screws or Fittings
Low-quality hardware loosens faster.
5. Age of Furniture
Old furniture naturally develops loose connections.
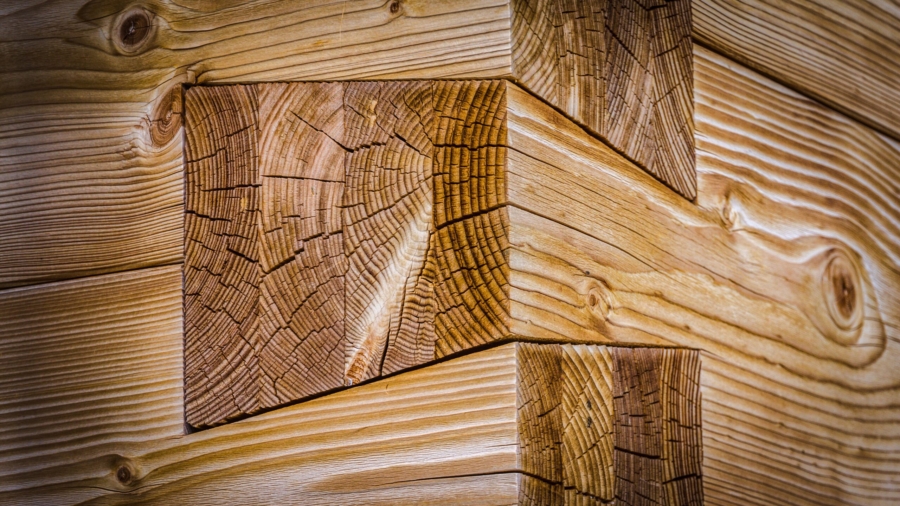
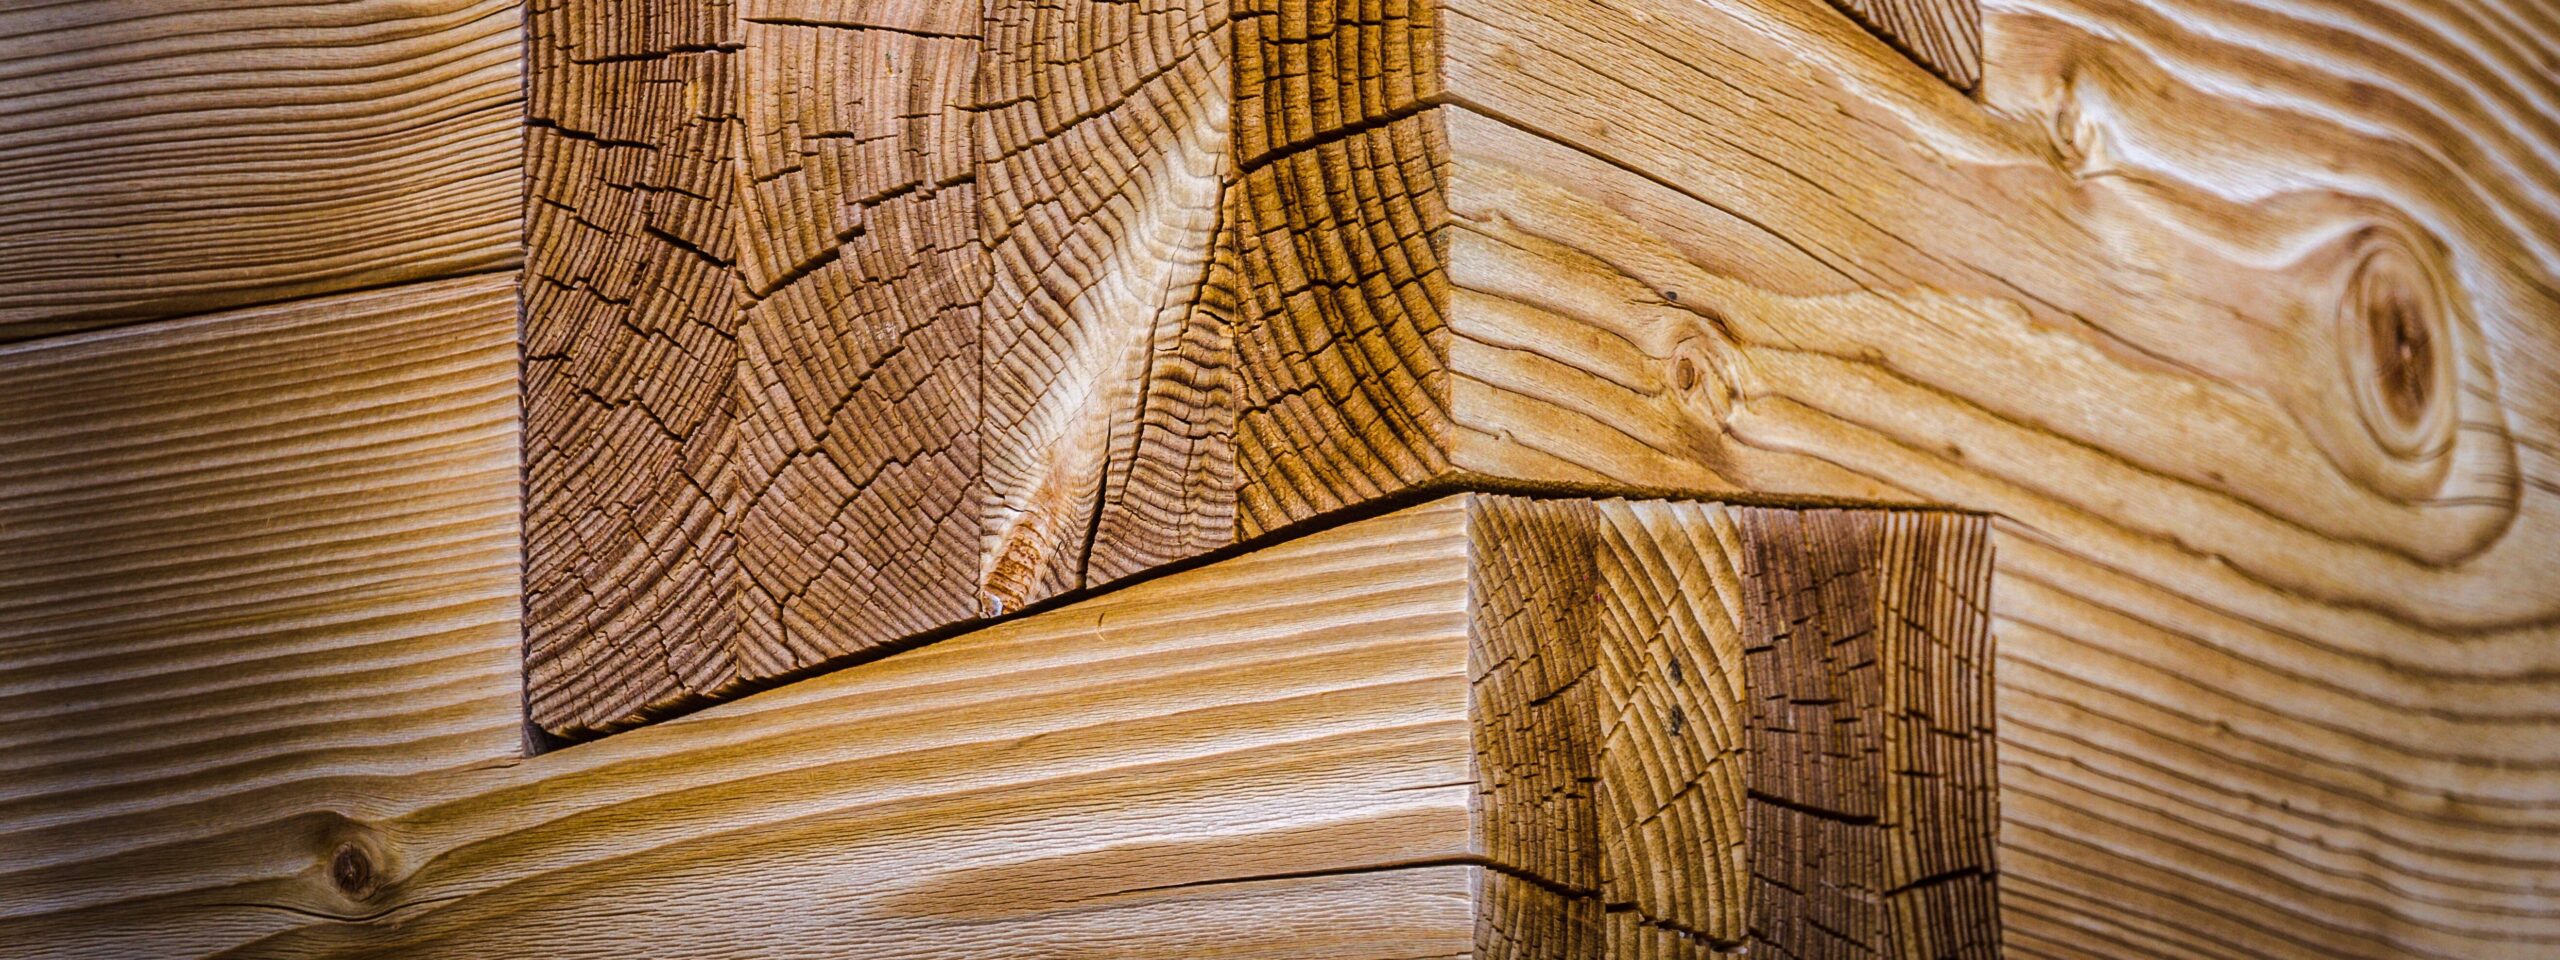
Types of Furniture Joints (Important to Identify)
Different joints require different repair methods.
Common Joint Types:
- Screw joints (modern furniture)
- Nail joints
- Wooden joints (dowel or mortise & tenon)
- Metal fittings
Signs of Loose Furniture Joints
Look for these early signs:
- Wobbling or shaking
- Creaking or squeaking sounds
- Visible gaps in joints
- Uneven structure
- Weak support
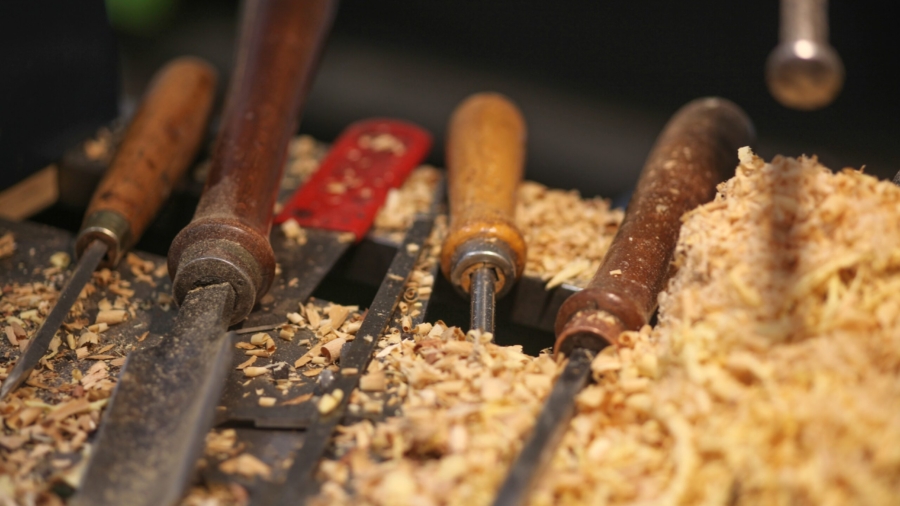
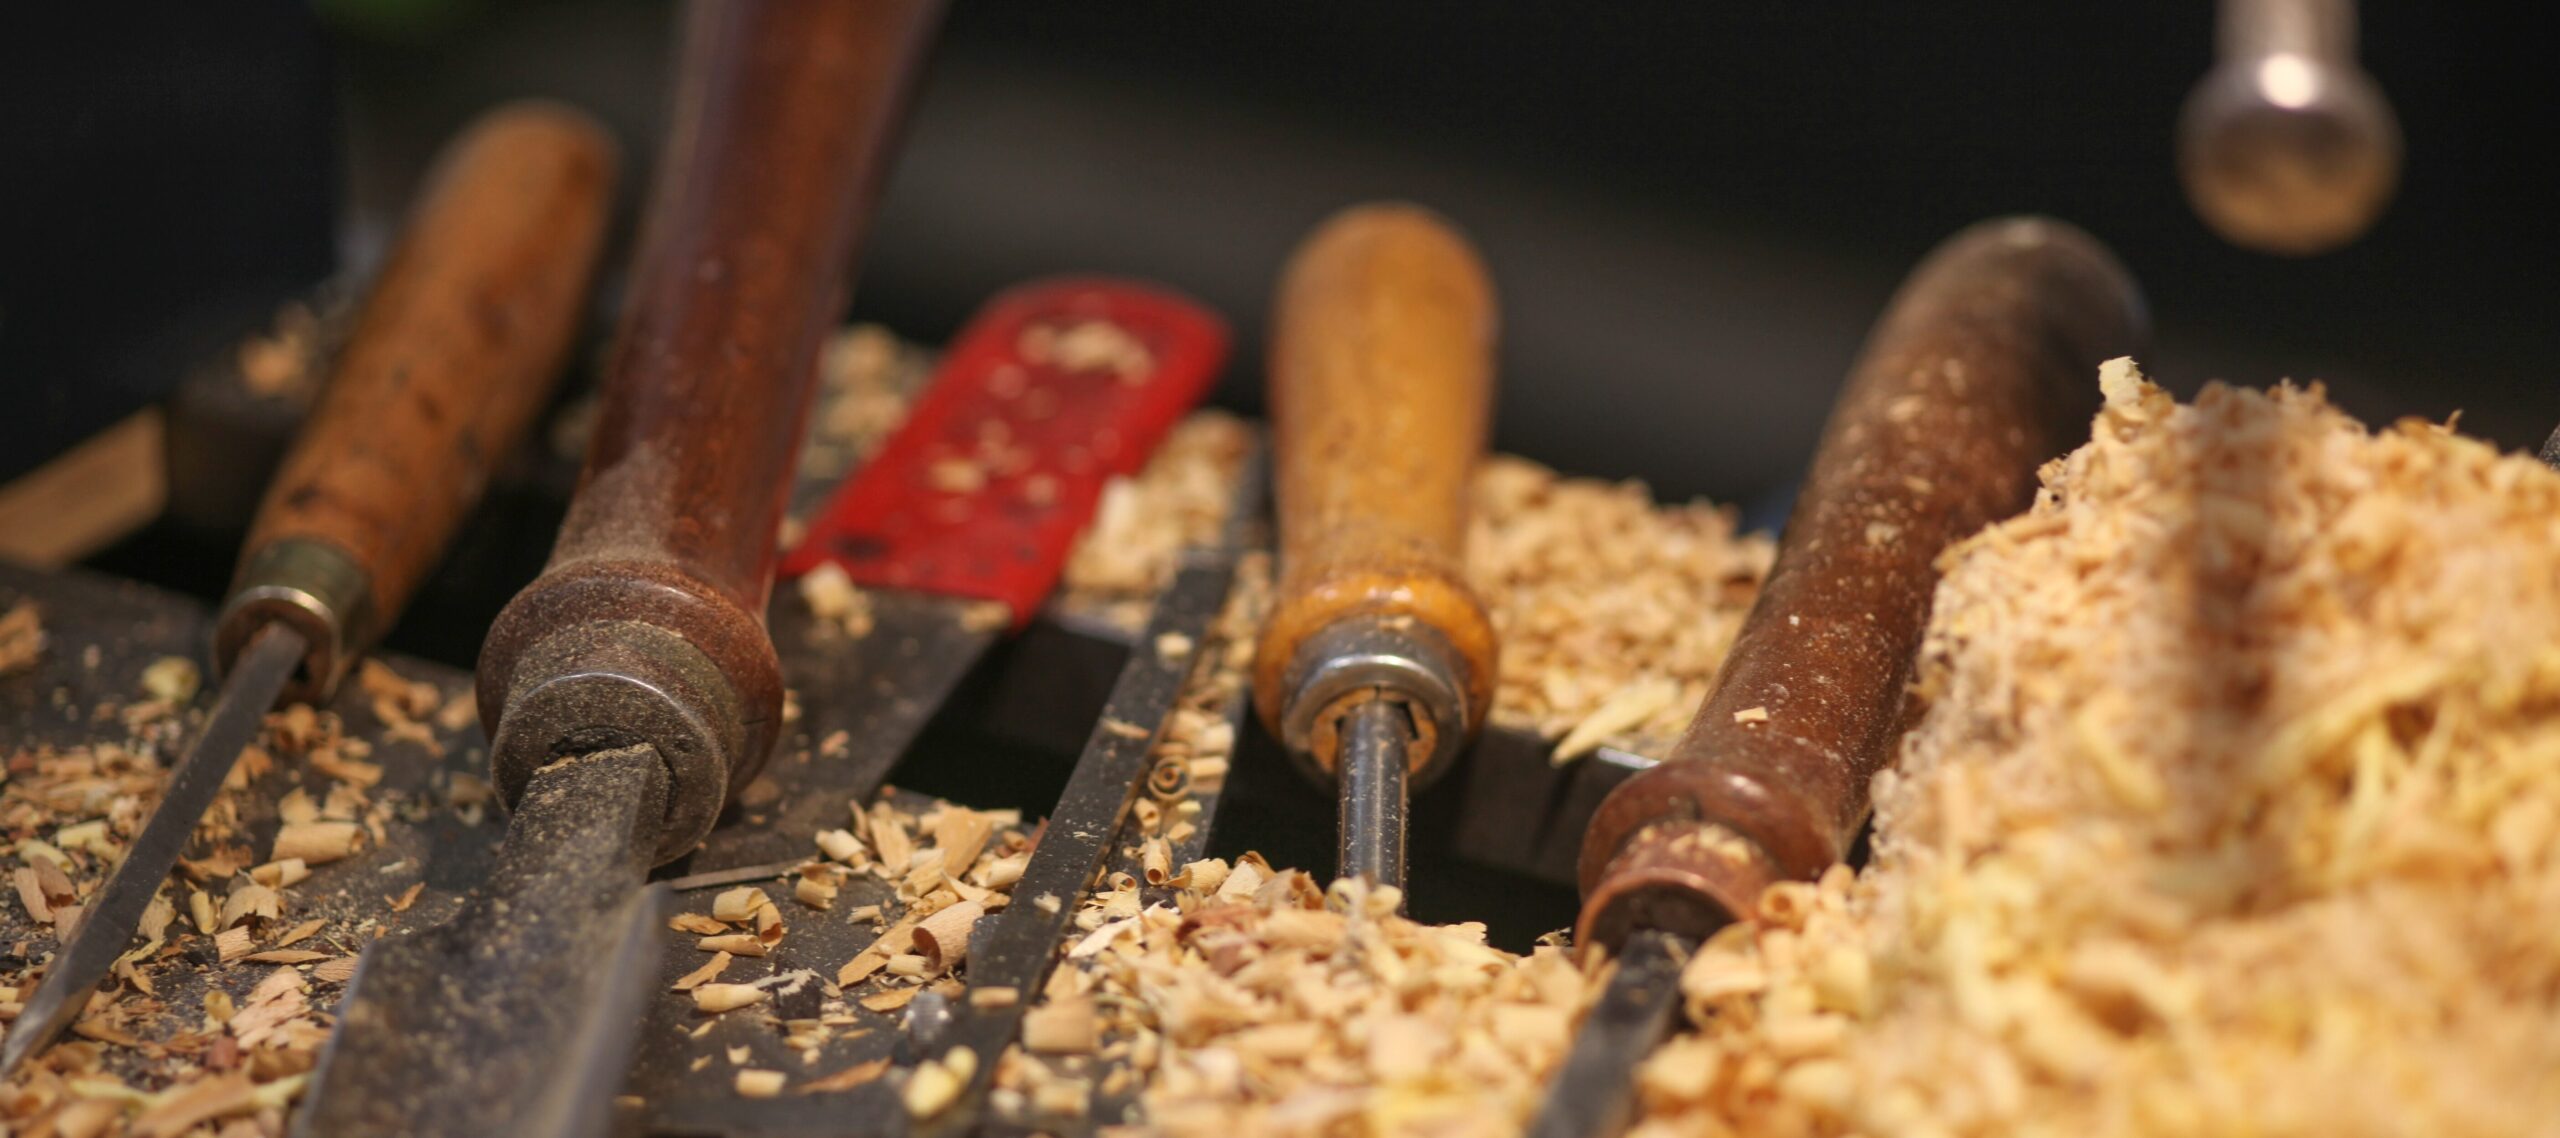
Tools and Materials Required
Before starting, gather these basic tools:
Basic Tools:
- Screwdriver or spanner
- Hammer
- Sandpaper
- Clamp (if available)
Repair Materials:
- Wood glue (Fevicol or similar)
- Toothpicks or wooden sticks
- Screws or nails
- Wood filler
Step-by-Step Guide to Fix Loose Furniture Joints
Step 1: Identify the Loose Joint
First, find exactly where the problem is.
How:
- Shake the furniture gently
- Check corners and connections
- Look for movement or gaps
Step 2: Tighten Screws and Bolts
This is the easiest and most common fix.
Steps:
- Use a screwdriver or wrench
- Tighten all screws properly
- Check for missing screws
Tip: If a screw keeps spinning, the hole may be damaged.
Step 3: Fix Stripped Screw Holes
Sometimes screws don’t hold because the hole is worn out.
Easy DIY Fix:
- Insert toothpicks or matchsticks into the hole
- Apply a little wood glue
- Insert the screw again
This increases grip and stability.
Step 4: Apply Wood Glue for Loose Wooden Joints
For joints without screws:
Steps:
- Separate the joint slightly
- Apply wood glue inside
- Press the parts together
- Clamp tightly for 6–8 hours
Important: Let it dry completely before use.
Step 5: Use Clamps for Strong Bonding
Clamps help hold joints tightly while glue dries.
If you don’t have clamps:
- Use rope or heavy objects
- Ensure tight pressure
Step 6: Add Reinforcement (If Needed)
For extra strength:
Options:
- Add screws to joints
- Use metal brackets
- Insert wooden dowels
Step 7: Fix Wobbly Legs
Loose legs are a common issue.
Solution:
- Tighten leg screws
- Add glue if needed
- Place rubber pads for stability
Comparison Table: Common Problems and Solutions
| Problem | Cause | Solution | Difficulty | Cost |
|---|---|---|---|---|
| Loose screws | Wear and tear | Tighten screws | Easy | Low |
| Stripped holes | Damaged wood | Toothpick + glue fix | Easy | Low |
| Loose wooden joint | Weak glue | Apply wood glue | Medium | Low |
| Wobbly legs | Uneven support | Tighten or pad | Easy | Low |
| Weak structure | Old furniture | Add brackets | Medium | Low–Medium |
Quick 10-Minute Fix (Emergency Solution)
If you need a quick repair:
- Tighten all screws
- Add toothpicks in loose holes
- Apply small amount of glue
- Let it dry for some time
This works for most minor issues.
Special Tips for Different Furniture Types
Wooden Furniture
- Use wood glue instead of nails
- Avoid water exposure
- Sand before applying glue for better bonding
Metal Furniture
- Tighten bolts regularly
- Use washers for better grip
- Apply lubricant to prevent rust
Plastic Furniture
- Use strong adhesive
- Avoid heavy weight
- Replace if severely damaged
Common Mistakes to Avoid
Avoid these errors to prevent further damage:
1. Ignoring Loose Joints
Leads to bigger damage later
2. Using Too Much Glue
Weakens bonding instead of strengthening
3. Not Letting Glue Dry
Joint becomes loose again
4. Using Wrong Tools
Can damage screws and wood
How to Prevent Furniture Joints from Loosening
Prevention is always better than repair.
1. Regular Maintenance
- Check joints every 3–6 months
2. Avoid Excess Weight
- Do not overload chairs or tables
3. Keep Furniture Dry
- Moisture weakens wood
4. Use Good Quality Hardware
- Strong screws last longer
Budget-Friendly Solutions for Indian Homes
You don’t need expensive tools.
Easy Hacks:
- Toothpicks instead of dowels
- Fevicol for strong bonding
- Old cloth for cleaning joints
- Rope instead of clamps
When to Call a Professional
DIY methods may not work in some cases.
Call an expert if:
- Furniture is antique
- Structure is badly damaged
- Large cracks are present
- Joint keeps loosening repeatedly
Latest Trends in Furniture Repair (2026)
Furniture repair is becoming more advanced:
1. Stronger Adhesives
Modern glues provide long-lasting bonding
2. Hidden Reinforcements
Metal brackets inside joints
3. Eco-Friendly Repair Materials
Safe and sustainable options
Expert Review: What Works Best?
Based on practical experience:
- Tightening screws fixes most issues
- Wood glue is best for wooden joints
- Toothpick method is simple and effective
- Clamping ensures long-lasting results
Key Insight: Most loose joints can be fixed easily at home without replacing furniture.
Final Thoughts
Loose furniture joints are not a serious problem if handled early. With the right tools and techniques, you can restore strength and stability to your furniture quickly.
Follow this simple formula:
Identify → Tighten → Glue → Reinforce → Maintain
By following these steps, your furniture will remain strong, safe, and durable for years.